Popular Features
The server also includes many features present in the main Pokemon games and also include other additional features, such as:
- Catch Combos
- Simplified Eggs & Breeding
- Dex rewards
- An economy? sort of
- Sophisticated Backpacks
- Refined Storage
- Campfire Heal & Spawn setting
- Alternate and other Dimensions
Catch Combos
Much like in the main games, you can run up a catch combo to increase the chances of encountering a Shiny Pokemon. You can
read this wiki entry to generally learn more about how this works specifically in Pixelmon; however this server has a few adjustments made to the mechanic to make it more balanced with the main games, since the main Pokemon games have a lot more assistive mechanics to help find shinies.
Chain Length Shiny Chance Increase
This is still a work in progress and adjustments are still being made, but these are the current shiny rates depending on your combo chain:
- 0 Chain = x1 Shiny Chance
- 1-10 Chain = x1 Shiny Chance
- 11-20 Chain = x2.0 Shiny Chance
- 21-30 Chain = x3.0 Shiny Chance
- 31-40 Chain = x4.0 Shiny Chance
- 41+ Chain = x5.0 Shiny Chance
Take these rates and combine them with a Strong Shiny Lure (x1.73) and a Shiny Charm which increases your odds by triple in order to get maximum odds!
Another change specifically for this server is that your combo will not reset if you log off the server; your combo will only be broken if you break their usual rules.
If your combo gets broken due to a bug, you can provide me with a screenshot of what your combo was and the error and I may be able to restore this for you.
Simplified Eggs & Breeding
The default breeding system in Pixelmon is significantly more difficult than in the main games; you can
read how it generally works in this wiki entry. That being said, this server has some adjustments made to the breeding mechanic to make it much more favorable to use.
No Item requirements
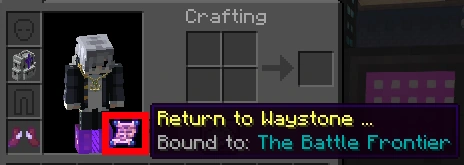
The default Pixelmon breeding mechanic requires items according to the type of Pokemon you are breeding, and a 1h 30m wait time. This was deemed way too much of a hassle, so instead you can purchase a special item called
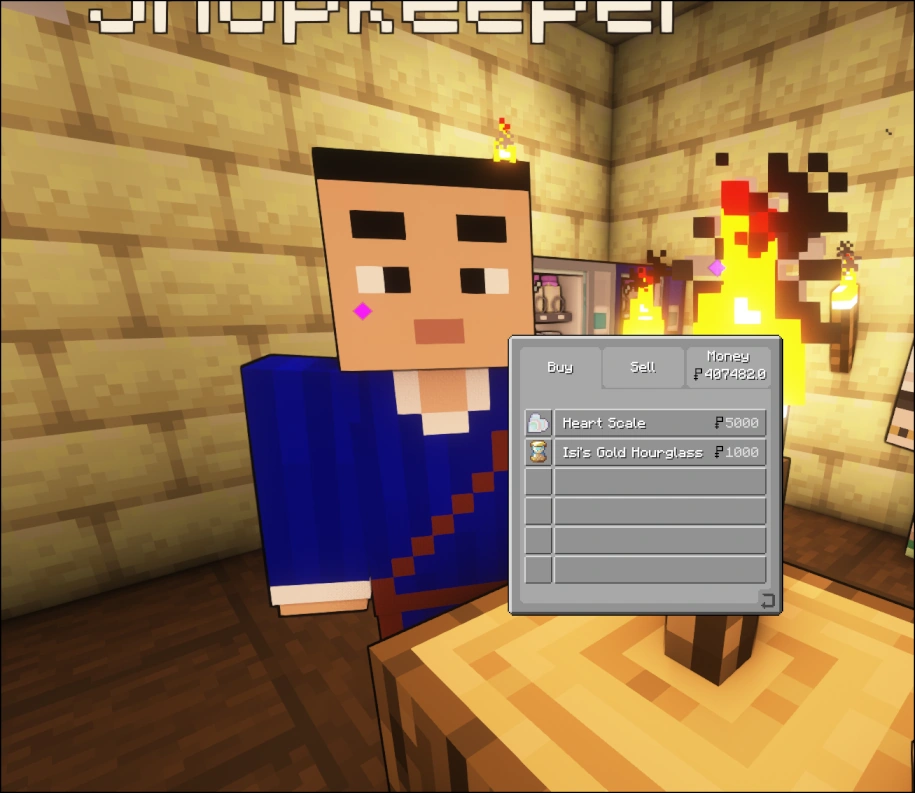
Isi's Gold Hourglass from the vendor at the Battle Frontier. This completely removes both the item and the time requirement to breed.
 Halved egg walking distance
The default setting for 1 egg cycle is 255 steps, matching that of the main games. Normally this would be fine; however the way Pixelmon determines a step is per the following:
After a sufficient amount of steps, the Egg will hatch. A "step" in regards to Egg hatching is equivalent to the time it takes to walk the full length of two blocks at normal speed. Methods of boosting traveling speed, like mounting a Pokémon, will increase the rate that Egg steps are deducted at.
Per this statement, it can actually take quite a bit longer since it doesn't count steps the exact same way the game does. Due to this reason, generally the required egg steps for an egg to hatch are halved from their usual rates, to bring the experience more closely to the main games.
If you breed two Pokemon with different trainers (one Pokemon can have you as the Original trainer, but the other must be from a different trainer), your effective chances of obtaining a shiny multiply by
six times! This brings up your shiny odds for breeding up to approximately 1/682, down from 1/4096. You can push this even further with a Shiny Charm, to a potential 1/228!
These settings are still a work in progress and may change.
Dex Rewards
One thing Pixelmon lacks by default are Dex rewards in tiers for completing the Pokedex. Fortunately, we have revamped the Pokedex system in this server in order to award and incentivize you for exploring the world!
Read more details about these rewards in this post.
An Economy?
The game does have built in Pokedollars that you earn from battling and selling loot; however it doesn't have a built in way to transfer dollars to other players for the purposes of buying from others. Due to this, we modified the buy/sell ratio of two special items in the game which will always buy and sell at the same ratio no matter what:
- Heart Scales - $5000
- Isi's Gold Hourglass - $1000
By trading multiples of these items with another player, you can effectively transfer Pokedollars to others for any purpose. Keep this in mind!
Sophisticated Backpacks
Pixelmon replaces all vanilla mobs, including our beloved inventory donkeys. As an alternative, the server comes included with the popular
Sophisticated Backpacks mod.

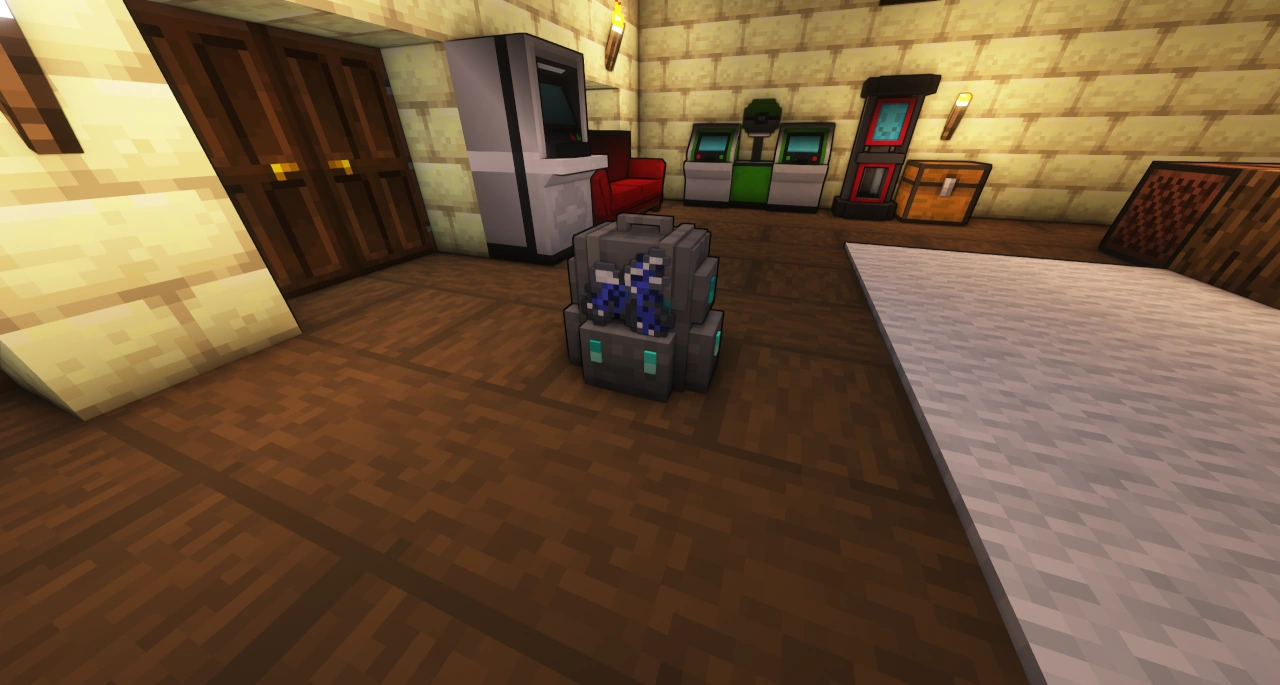
These backpacks come with the capability to give you massive portable storage on your adventure, which make up for the lack of inventory donkeys and then some. They are color dyeable, and can be upgraded with different perks and additional storage. You can read about all the different backpack tiers and perks
here, but note that this server does have a few minor differences from the default configuration noted below:
- Only up to Stack Upgrade Tier 3 can be crafted.
- Inception upgrade is disabled.
- Only one backpack can be carried around at any given time.
These options are subject to change in the future, and more options may become available.
Refined Storage
Let's say you now have a giant room full of dozens of chests, and searching through them all along with constantly locking and unlocking them is becoming a hassle...there is indeed a much better way that combines both security and convenience:
Refined Storage!
Refined Storage is an expandable and compact storage system that can serve as a replacement for chests. The simplest way to describe it is basically much like how your own computer works; it stores all your belongings in "digital hard disks." Due to this, you can store an immense amount of items in an extremely small footprint as opposed to having walls of chests.
There is a small visual tutorial in the Spawn on how to set up your first storage system, but I will detail the steps here as well.
Before we begin, it's important to note that there are some changes to the mod on this server that differ from the default:
- The entire system does NOT require energy (FE) to run; everything will just work as long as it is all connected to each other properly.
- A lot of the recipes require the creation of processors. A vendor has been added to the Spawn that sells the three levels of processors; feel free to buy these to significantly cut down on crafting time and complexity.
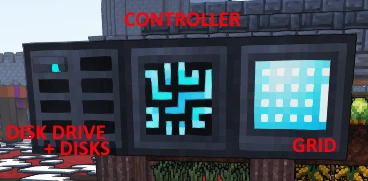
A Refined Storage system is made of 3 core components, with an optional 4th one.


- Controller: This is the core of the entire system. Think of this as your computer's CPU.
- Grid: This is how you access the contents of your storage. Think of this as your computer's "monitor/keyboard/mouse." You can also create a Crafting Grid instead, which also gives you the ability to craft things directly inside the storage without having to take things out.
- Disk Drive: This is where your storage is actually stored. The Disk drive holds Disks that can be of various sizes, which is where all your things are "digitally" written to. Think of this as your computer's hard drive with the same principles.
- Security Manager: This is an optional but recommended component. This essentially locks and protects your storage from others with a permissions based system.
I strongly recommend to use JEI to look up the recipes and have it guide you through the creation process of each component.
Once you have created all the components, make sure they are all touching each other when set into the world and everything should turn on. After you have placed everything down, the Disk Drive and Security Manager need some additional setup detailed below.
Disk Drive
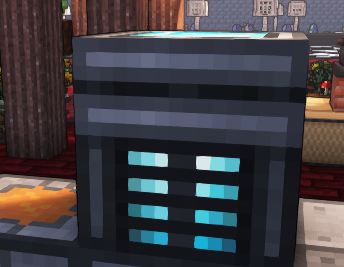
The Disk Drive will not work on its own; much like your computer, it needs a component installed inside of it in order to be able to store your items: Disks. Disks come in several sizes: 1K, 4K, 16K, and finally 64K.
Once you have created some disks, insert them into your Disk Drive like so:

The bar on the left will show you the total number of disk storage you have, as well as how full it is. To expand your system, either insert more disks, upgrade your disks to a higher tier, or just build another Disk Drive connected to the same system (you can have multiple). Keep in mind that if you do want to upgrade from a smaller to a higher disk, you will need to transfer over the items contained within using a Disk Manipulator.
Security Manager
The Security Manager is what locks out other players from looking into or stealing your items, but it needs its permissions set up first. Keep in mind that regardless of how you set this up, YOU the player that placed the Security Manager down will ALWAYS have access to it, so you can't ever accidentally be locked out.
First start by making a Security Card. I strongly recommend to make two: one to set permissions for yourself, and one to set global permissions for everyone else.

After you've created the cards, open the Security Manager and place a card in the middle configure slot. Permissions are set by checking all the boxes of the abilities you'd like the person to have.
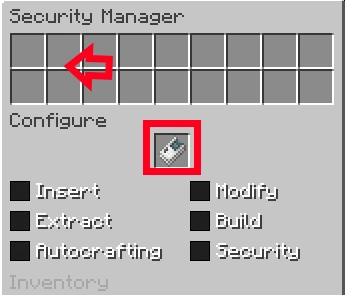
We are going to set Global permissions first so no one on the server can access your stuff. To do this, simply
keep everything unchecked as is and put it in the slot above indicated by the arrow. Since nothing was checked and the card was not bound to anyone, this automatically blocks everyone out from your storage.

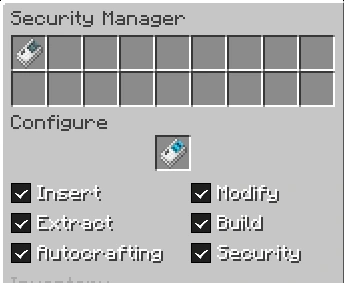
Next, let's set up permissions so you can access your own storage. The second card needs to be bound to you so only YOU have access to everything. Take the card out and hold it in your hand, and right click it. It should now glow blue with your name on it when you mouse over it.

Finally, open the Security Manager and place the card in the middle slot again. This time, make sure to check every single box; this ensures that you will have access to everything.

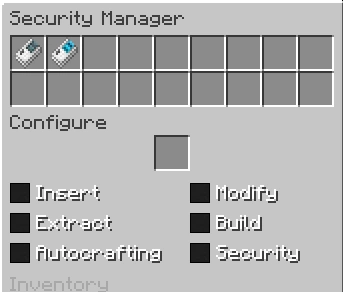
Once you are done, place the card in the top slot next to the one from earlier, and this should be your final result:

You can also share access to your storage with other friends by having them bind cards in the same manner and repeating the above steps.
If you are unable to access your storage for any reason, make sure to check that the cards have the proper permissions as detailed above. Remember that you always have access to the Security Manager as the owner, so you can always fix this at anytime.
Refined Storage is capable of much more; if you want to see the entire author's guide,
feel free to read here.
Campfires

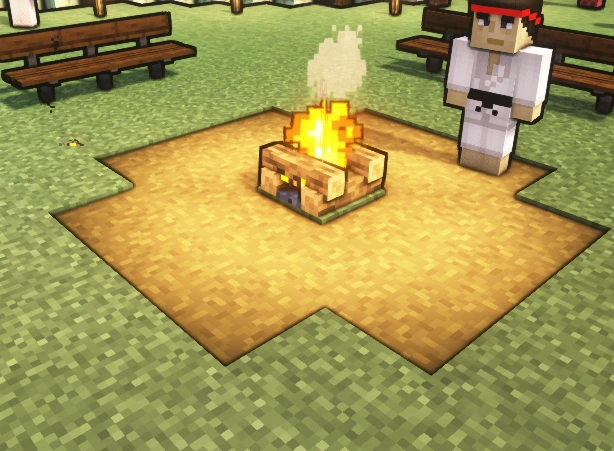
Campfires are a convenient thing to keep around and will do the following:
- Upon setting/lighting up a campfire, it will automatically set it as your spawn point. This is useful if you are traveling around for great distances and don't want to get teleported all the way back home on death. You can also right click an already lit campfire to set it as your spawnpoint.
- Being near a lit campfire will continuously restore your health.
The ability of the campfire to be set as your spawnpoint can let you teleport between three points instantly if you set it up right. You could set a campfire as your spawnpoint in one location, and then heal your pokemon at a healing staton in an entirely different location. You could then teleport between the two points by killing yourself to get teleported to the campfire, and you could use a Pokemon with the move Teleport to teleport back to the healing station. If you then remove the campfire as your spawnpoint, your spawnpoint automatically reverts back to the last bed you used!
Effectively you have three different "spawnpoints" you can use:
- The bed
- The healing station (using teleport)
- The campfire
Make sure to use this to your advantage to travel around.
The Alternate Dimension

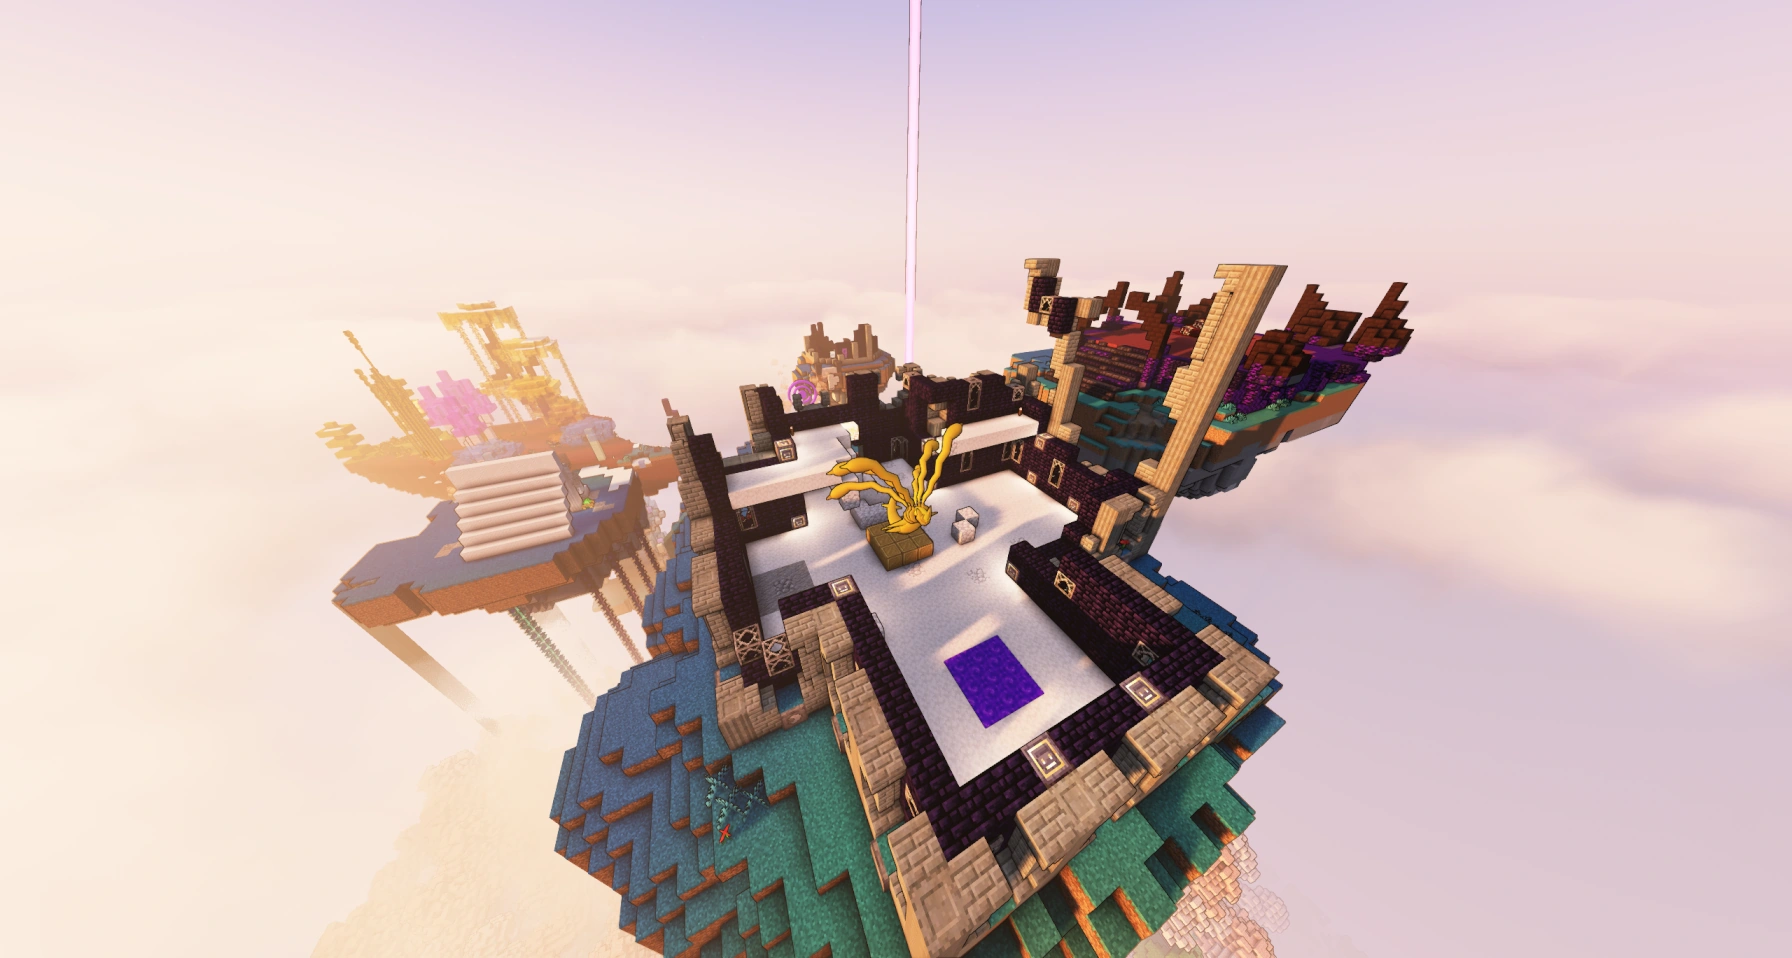
The Alternate Dimension is another dimension that you can travel to, said to be supported by the Legendary Pokémon Dialga & Palkia. It's a dimension that frequently changes in form; it can be entirely caves one day, or huge mountains the next. For this reason it is highly recommended to
not build any permanent constructions such as houses here.
Instead, the Alternate Dimension is especially useful if you'd like to gather resources in bulk without destroying the overworld and the surrounding area. It also serves as an alternate location to find Pokemon that may be difficult to find otherwise (as well as a change of scenery!). You can even find a Spear Pillar where you might catch a glimpse of Dialga or Palkia themselves!
The Reverse World

The Reverse World is yet another world said to be home to the Legendary Pokémon Giratina. This dimension is unique in that it mainly features biomes from
Oh the Biomes We'll Go, compared to the overworld which only features biomes from
Biomes O Plenty. Due to this, there are resources that you can only find here and it is definitely worth exploring. As of patch 3.0, the dimension has changed and is now home to hostile mobs such as the ones found in vanilla minecraft, making it extremely dangerous. You can even find a Spear Pillar where Giratina itself might appear.
Ultra Space
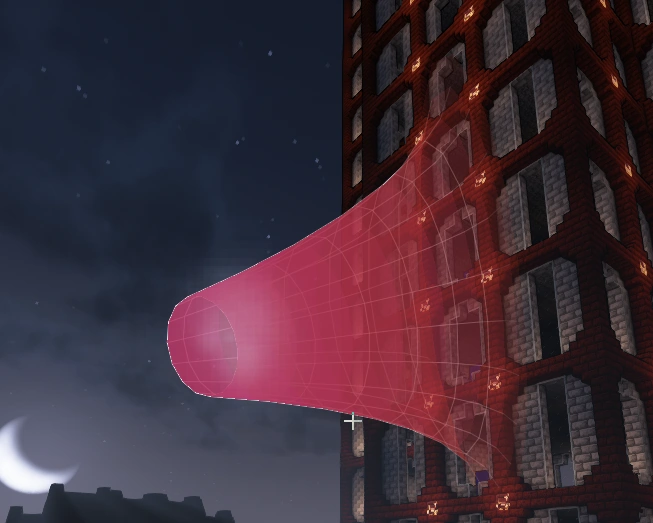
Ultra Space is a dimension home to Ultra beasts and incredibly powerful Pokemon, sometimes with unique skins. To enter Ultra Space, you need to find a wormhole that may randomly spawn about the world:

You can also enter Ultra Space by having certain Pokemon use the wormhole ability to force open a portal.
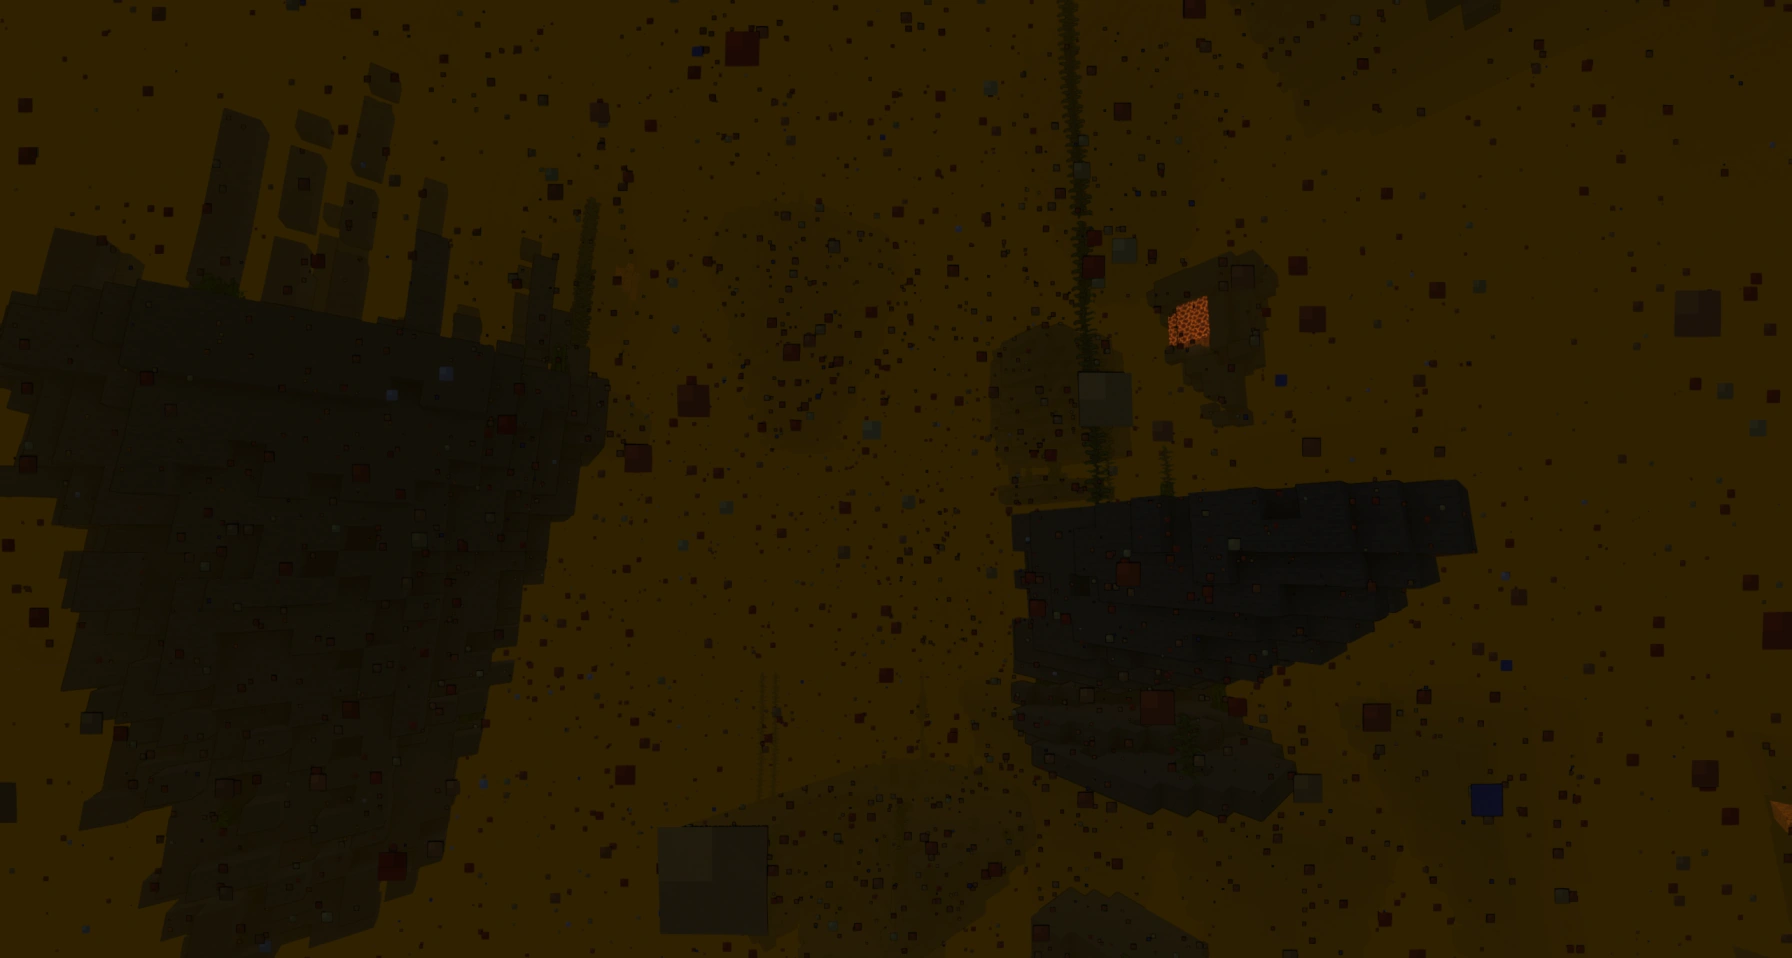
Ultra Space is a hostile environment. While Pokemon here will not attack you, you will notice that there are many plants and trees that will afflict you and your Pokemon with various status effects. Gravity here is also greatly reduced than that of the overworld.
Keep in mind that Ultra Space is incredibly laggy due to a heavy fog; your fps will drop significantly while you are in this world.
Please keep your flying speed slow, as flying rapidly will also cause significant lag for other players on the server!
The only way to leave Ultra Space is either by teleporting out with a Pokemon, having all your Pokemon faint, forcing open another wormhole, or dying. Be careful in here!
The Drowned World
 The Drowned World
 is a dimension completely submerged in water. All the Pokemon inhabiting this dimension all have "Drowned" pallates, and they cannot be caught until a certain quest has been completed. The incredible darkness and fog along with everything being underwater makes this a very hostile environment to explore. This world is home to Drowned Lugia.
The only ways to leave The Drowned World is either by teleporting out, drowning, or reaching a sufficiently high or low height in the world. If you plan to explore in here, make sure you are prepared.
Visit the Dimensional Research Center at the Frontier if you'd like to learn more. There is also a quest in your quest book about these that you can engage in.
